Ahhhh! Thank you! I’m finally thinking nutritional problems instead of just pest and disease, and it often look like Ca and Mg.
Those peas look fantastic! I think my pea plantings, two of which failed, were devoured by Mole Crickets! Small mounded tunnels were visible around a serious lack of sprouts. Argh!
I wonder if garlic does not like potting soil. Looking at the plant, it seems to be adapted for a drier soil, one where there is moisture down low, but drier near the base. Very organic potting soil wicks moisture in all directions. With garlic, it’s better the root tips are moist. This is also true with any bulb-forming allium. All those skins are designed to conserve moisture.
Garlic also prefers a cooler root/bulb zone, like all subterranean vegetables. It does great here, in-ground, if one can keep onion flies away. If, those of you have dying garlic, you might want to dissect the patients and look for tiny maggots. If you find these, likely Onion Fly, it will be nearly impossible to grow Alliums without keeping them under Reemay or insect-proof netting.
Calcium is very important for peppers and tomatoes; both can get blossom end rot and all sorts of diseases when it’s in short supply. Peru, where the Aji come from, generally has calcium-rich soils. In cooler weather, evening, one can apply “Rot Stop”, a foliar Calcium Chloride spray. It works very fast, bypassing the root system. just don’t apply it in hot, sunny weather and follow the label instructions.
As a side note, Calcium Chloride is used to keep canned tomatoes and pickles firm, and to reduce salt/sodium levels in preserved foods.
The Magroot Lime, potted, gets a dose of dolomitic lime in water now and then. Stuck in the same soil for years, it needs all kinds of nutrients because I keep stealing leaves!
2 Likes
I do believe that’s the problem. It worked okay last year, but I think I included some of last years potting mix, and maybe it’s breaking down. I do check the roots, and I have pictures if it might help, but I don’t recall seeing maggots in the past. I’ll be on the lookout if I pull some bulbs up.

Yum! That’s a fine harvest of peas.
If you look for onion fly larvae, keep in mind they can be sneaky, hidden inside the dying plants. I’ve harvested garlic which looked fine from the outside, only to discover later that the pest were inside, hidden from view. Hopefully, those are not in your area.
1 Like
Those peas look great. About how many plants you put in each box?
1 Like
It would be hard to guess, but I plant two rows of seeds, and each seed in a row is about an inch apart in what might be a 24 inch long container. Until I’m bored, or my Achilles tendon is sore, then I might just throw in whatever.
Here are some shelled peas that I took from pods that got too big or tough.
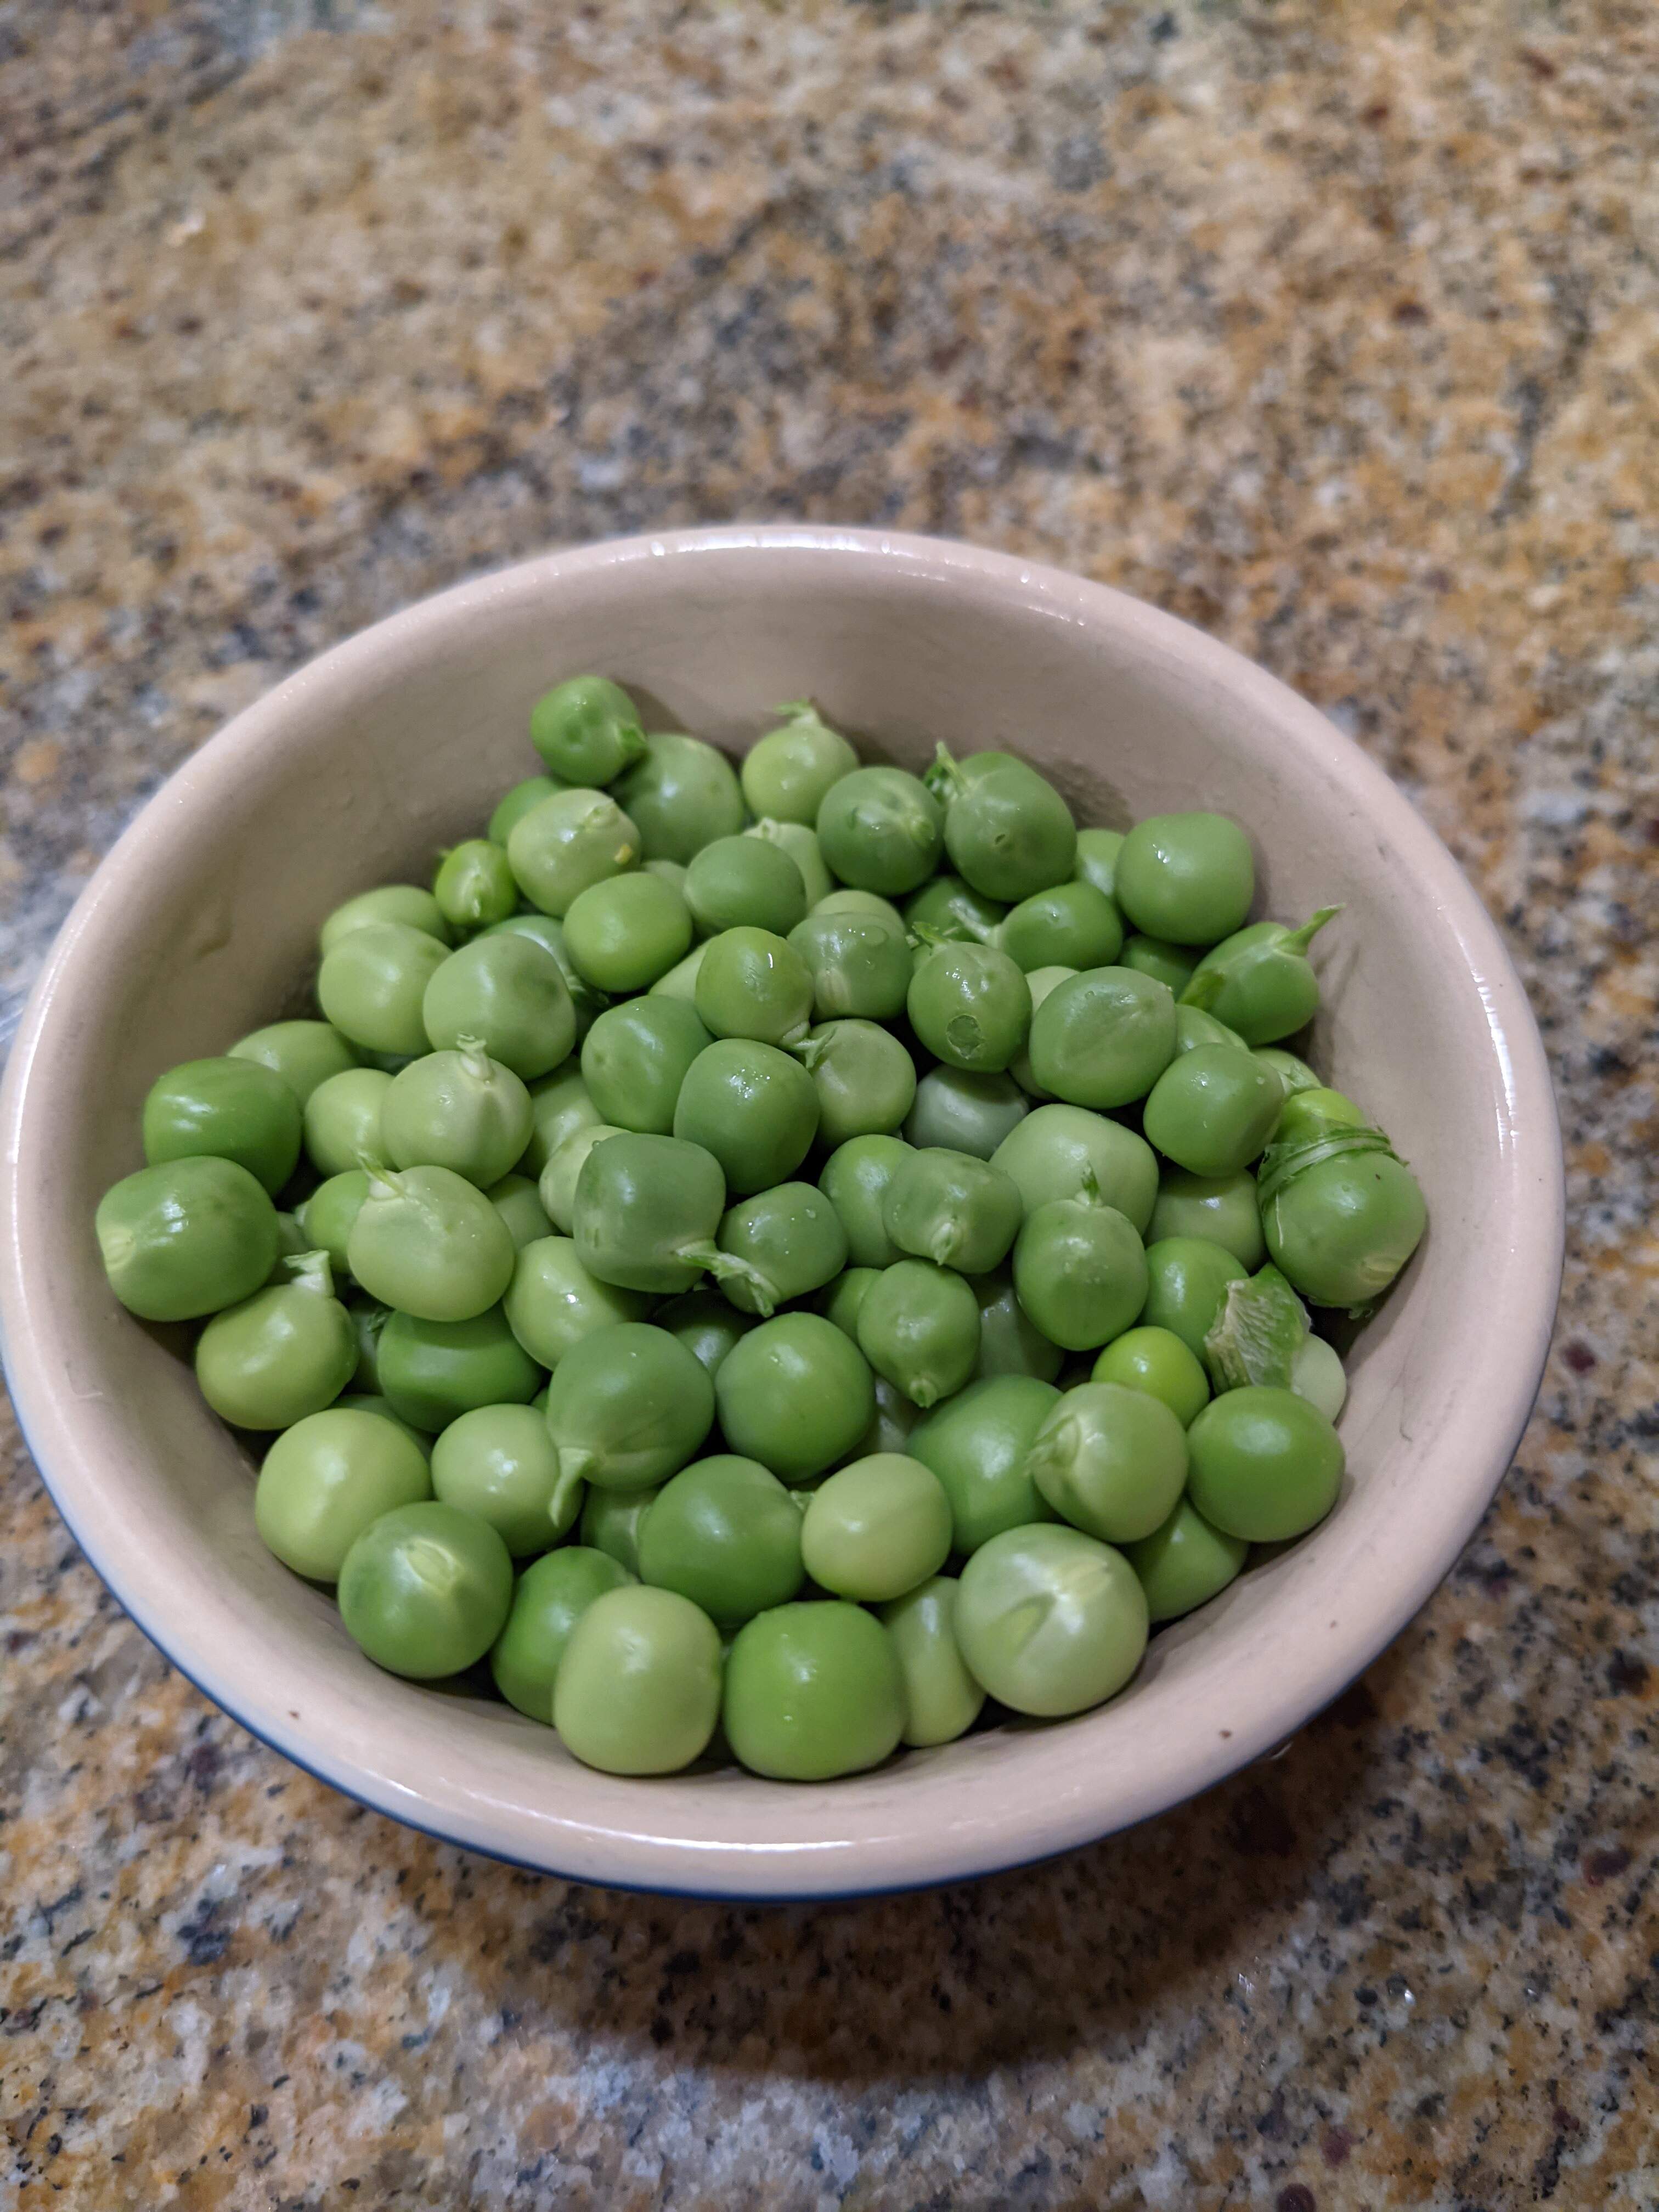
4 Likes
Starting hardening off three days ago, and everyone’s cool with it except for one wussy cuke who is presently inside on its fainting couch.

Infant leeks.

Toddler mustard and other spicy greens.

5 Likes
Never tried leeks, how deep a pot you need to plant them?
I’m late to the party (ha!) but have to share this:
")
Blue cups just aren’t the same.
Hydroponic feeding is real science. The two cup method is just an implementation of that.
1 Like
Folks used to plant them so leeks could be “hilled”, with up to 10 inches of soil mounded around the stem as they grew, to encourage a larger white base. These days, most folks, including myself, grow seedlings a bit larger. Then, a dibble (pointed stick) is used to make a 6-7 inch hole in the ground. You put the seedling down that hole so only 2 inches (5 cm) of the leaves stick out. Then you put about an inch of soil in the hole and water the seedling in. Over time, the hole caves in from rain or watering, so hilling isn’t always needed, or at least it is reduced.
4 Likes
Ah, but the blue cups have uses other than partying! I just learned that they are great natural thrip catchers that protect your rose bushes.
4 Likes
Definitely listen to @bogman instead of me, 'cause he knows what he’s talking about and I don’t. I just planted them an inch deep in a 12" window box. I am generally terrible with root vegetables, but I figured maybe I’ll get some nice leaves, at least, something ramp-like.
3 Likes
Thanks @bogman and @small_h for the leeks tips.
I start to graft my tomatoes, the bottom part is another tomato called Ground Force F1, quite expansive seeds, the germination rate is good (9 germinated out of the 10 seeds sowed). The young tomatoes stems are quite fragile, they crack easily, when I tried to put the top stem inside the bigger lower stem. I used silicone clips to hold the stems together.
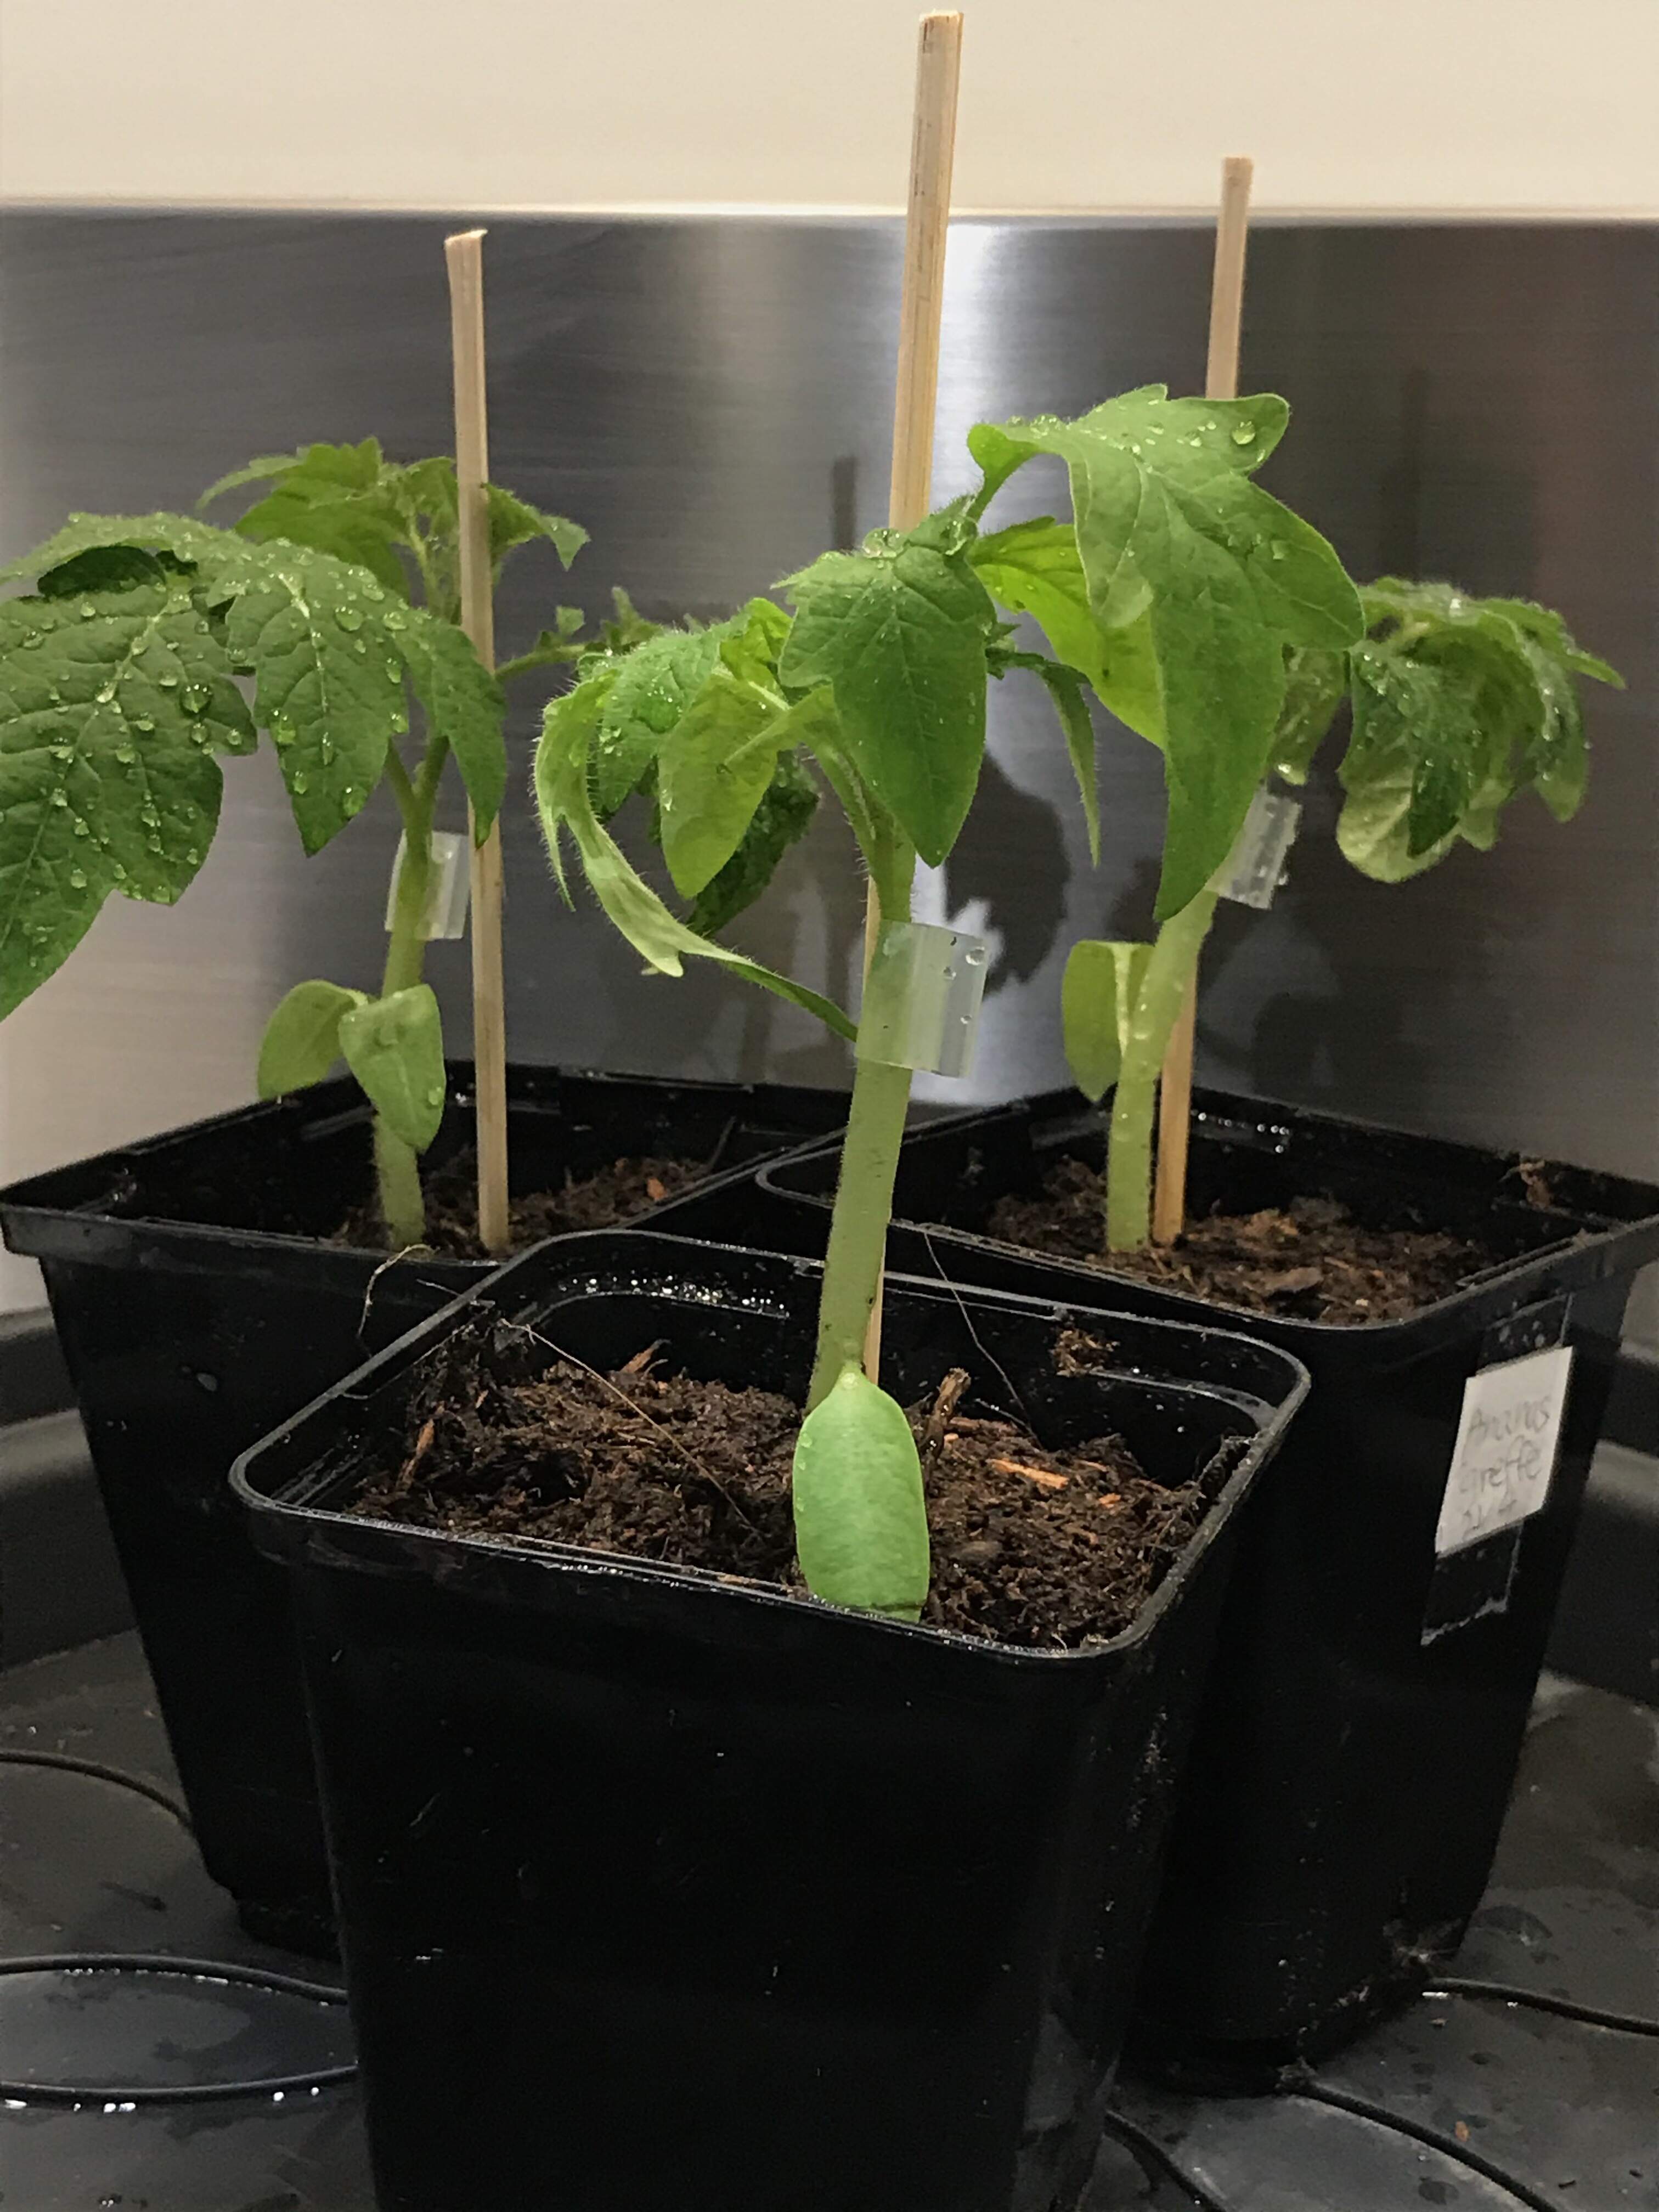
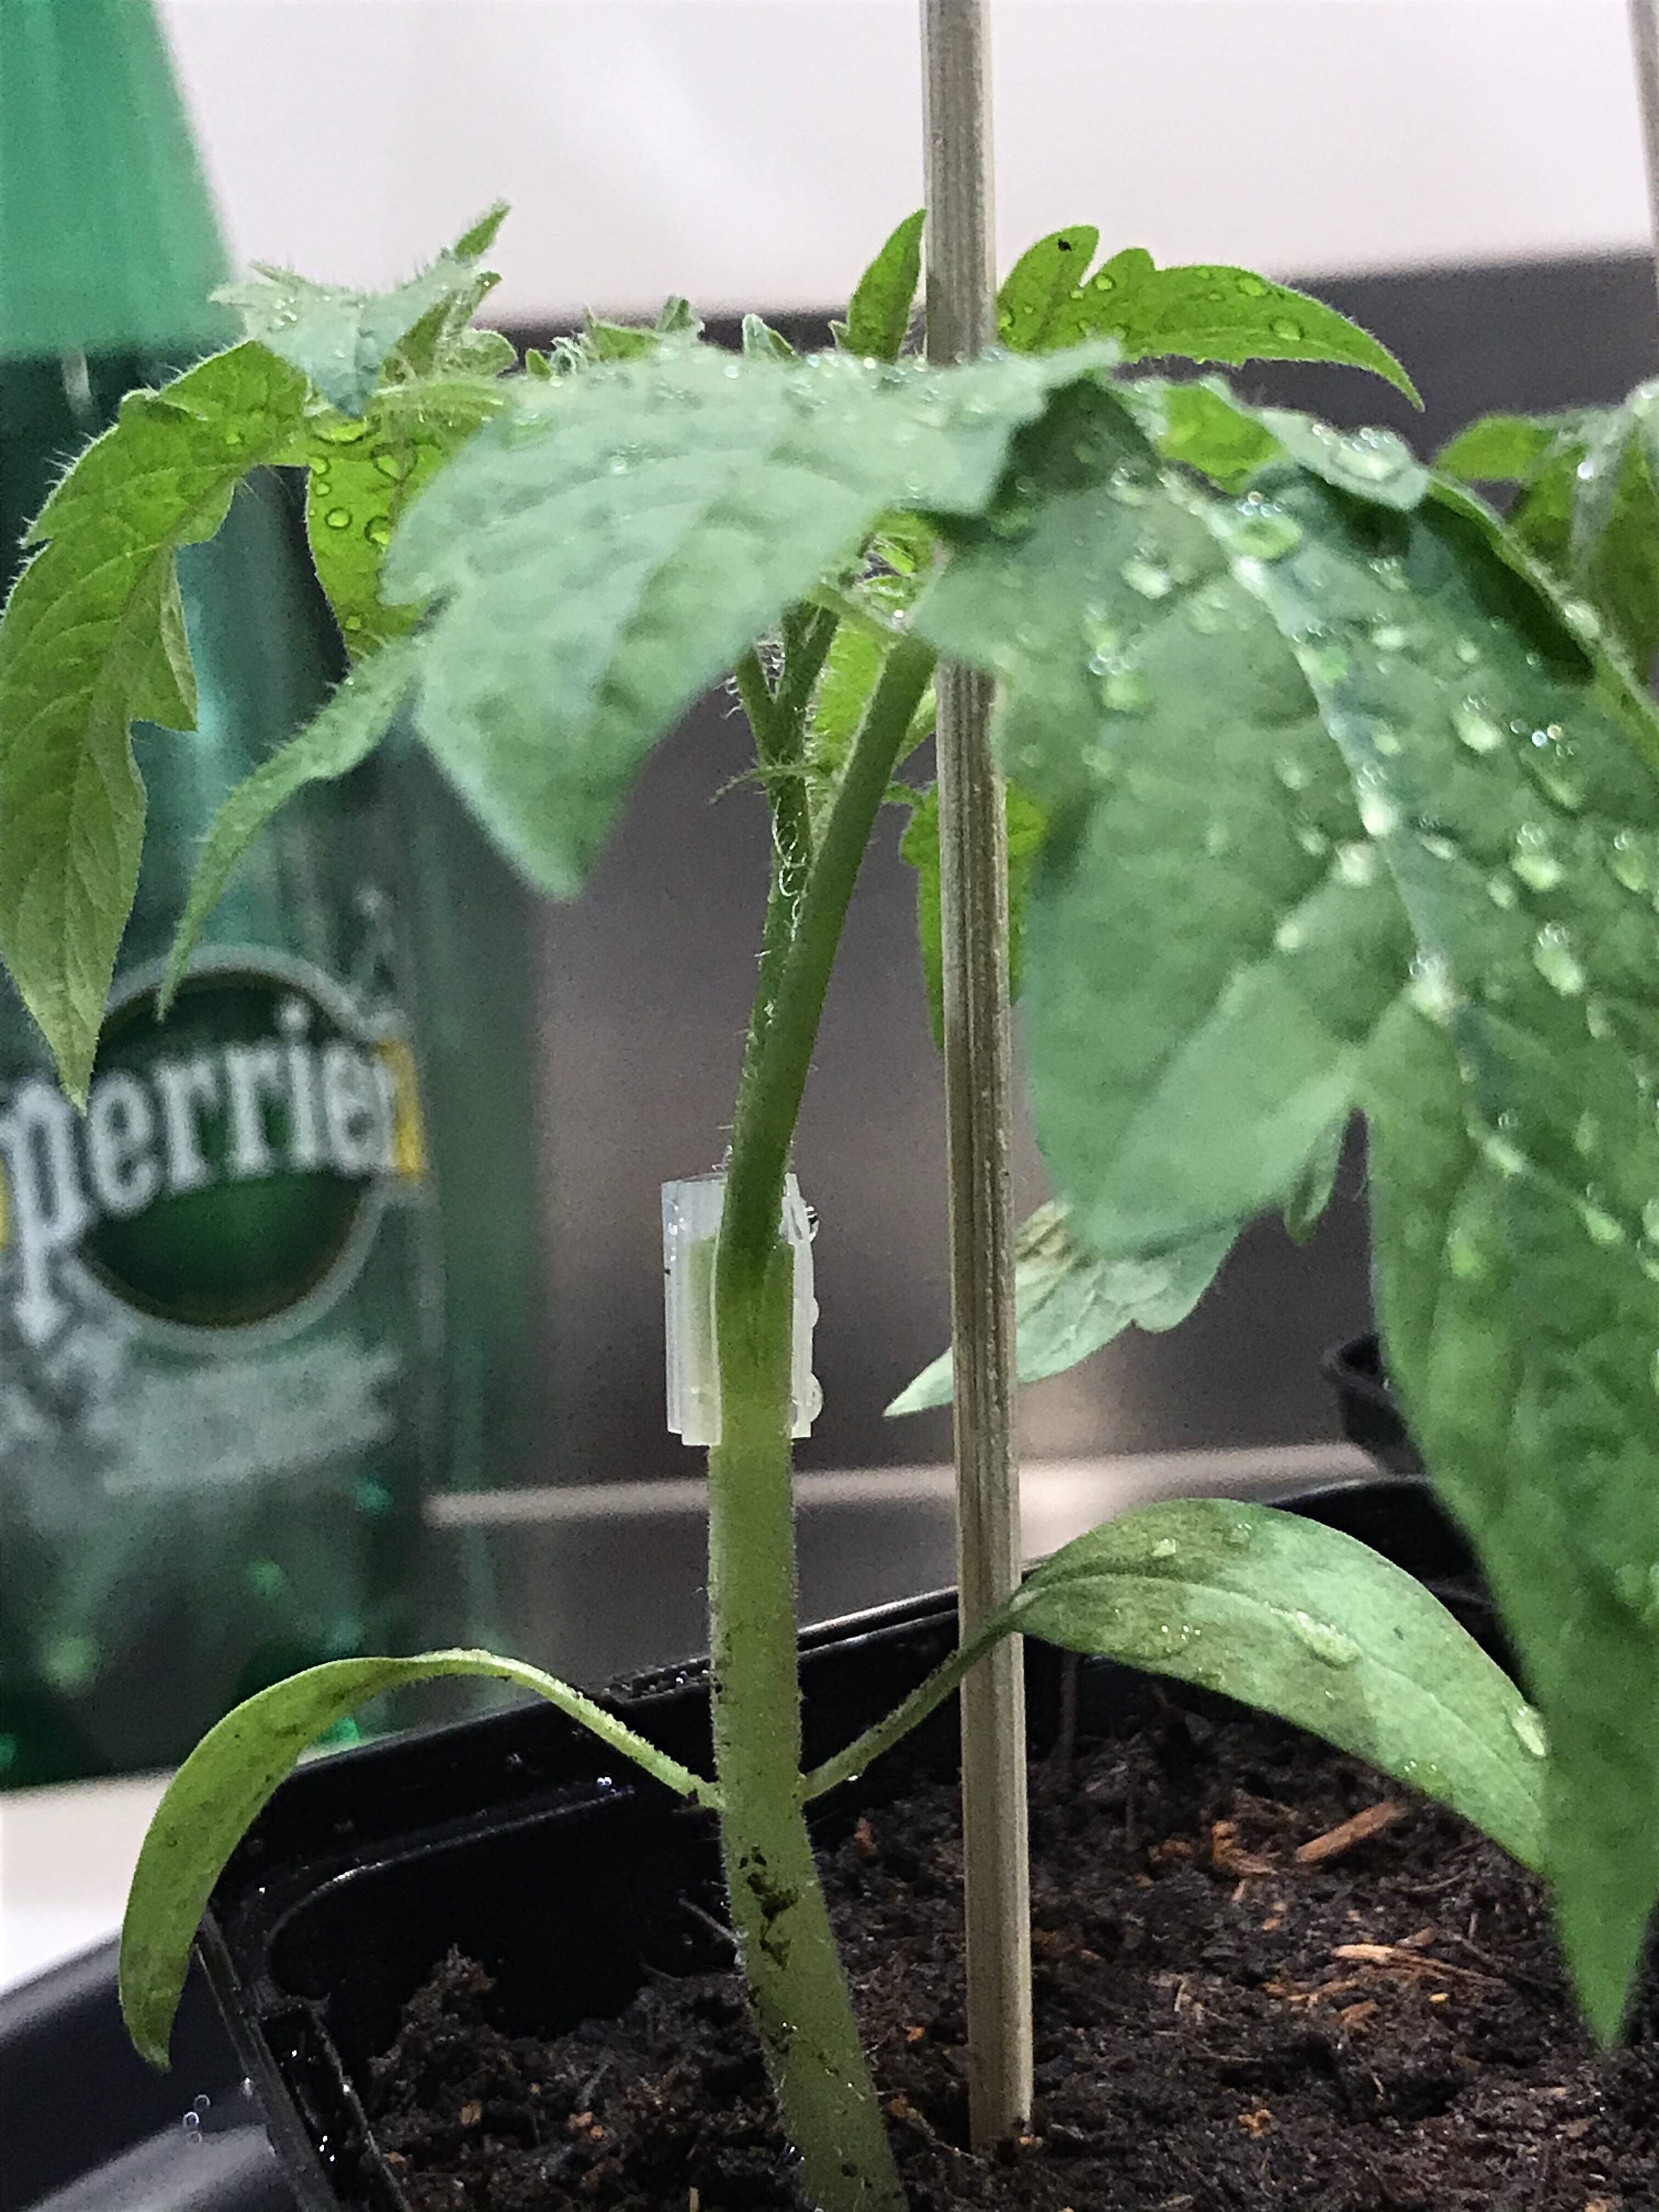
Now 7 hours after, the top parts are in good state without drying up inside the plastic dome.

2 Likes
So interesting @naf!
What is the top plant that you’re grafting on, and have you found a big difference from grafting?
I will let you know if they will grow more fruits compared to the non grafted ones of the same species. (My first time!) So far grafted tops are an Italian variation called Datterino, Russian Krim and Pineapple tomato.
I’ve planted 3 bought grafted plants over the years and found they yielded 2-3 times more. They costed also 3 -4 times more expensive than a normal seedling.
4 Likes
@naf ! You go! That is pretty impressive.
Yay! I have buds on several pepper plants . Maybe some bloom before it gets too hot.

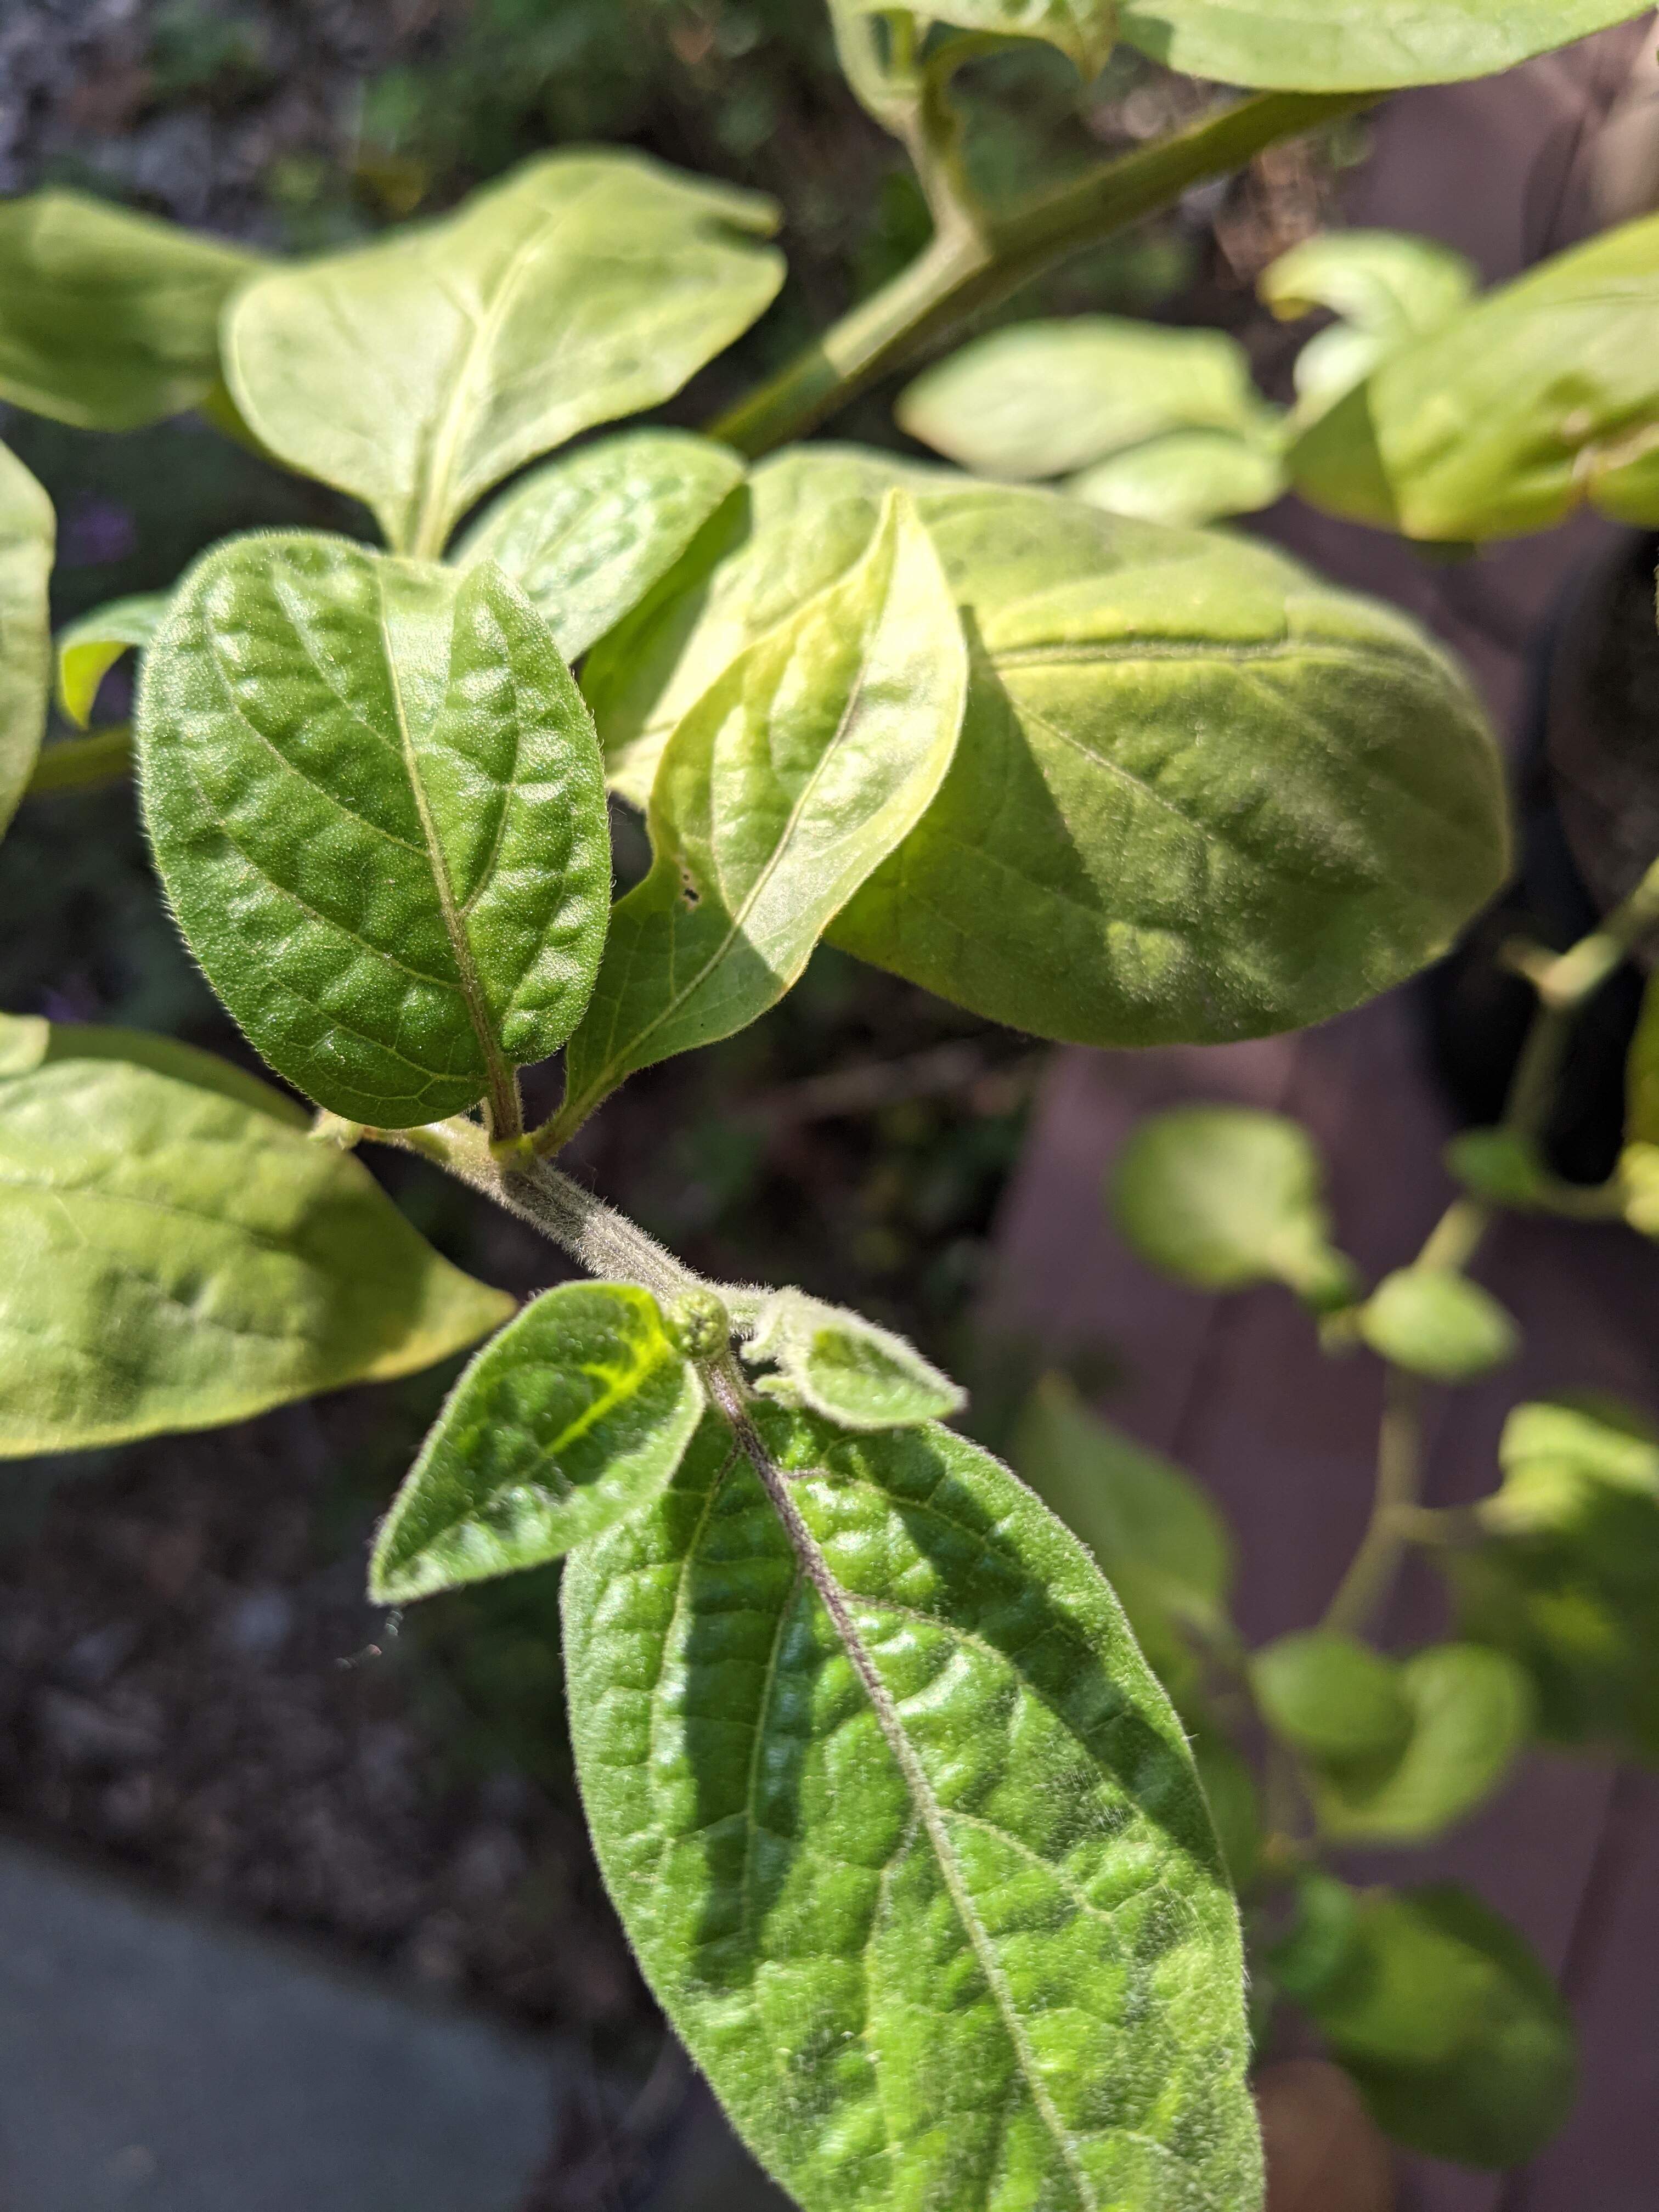


2 Likes
They grow so fast! I wish I had a greenhouse.
2 Likes
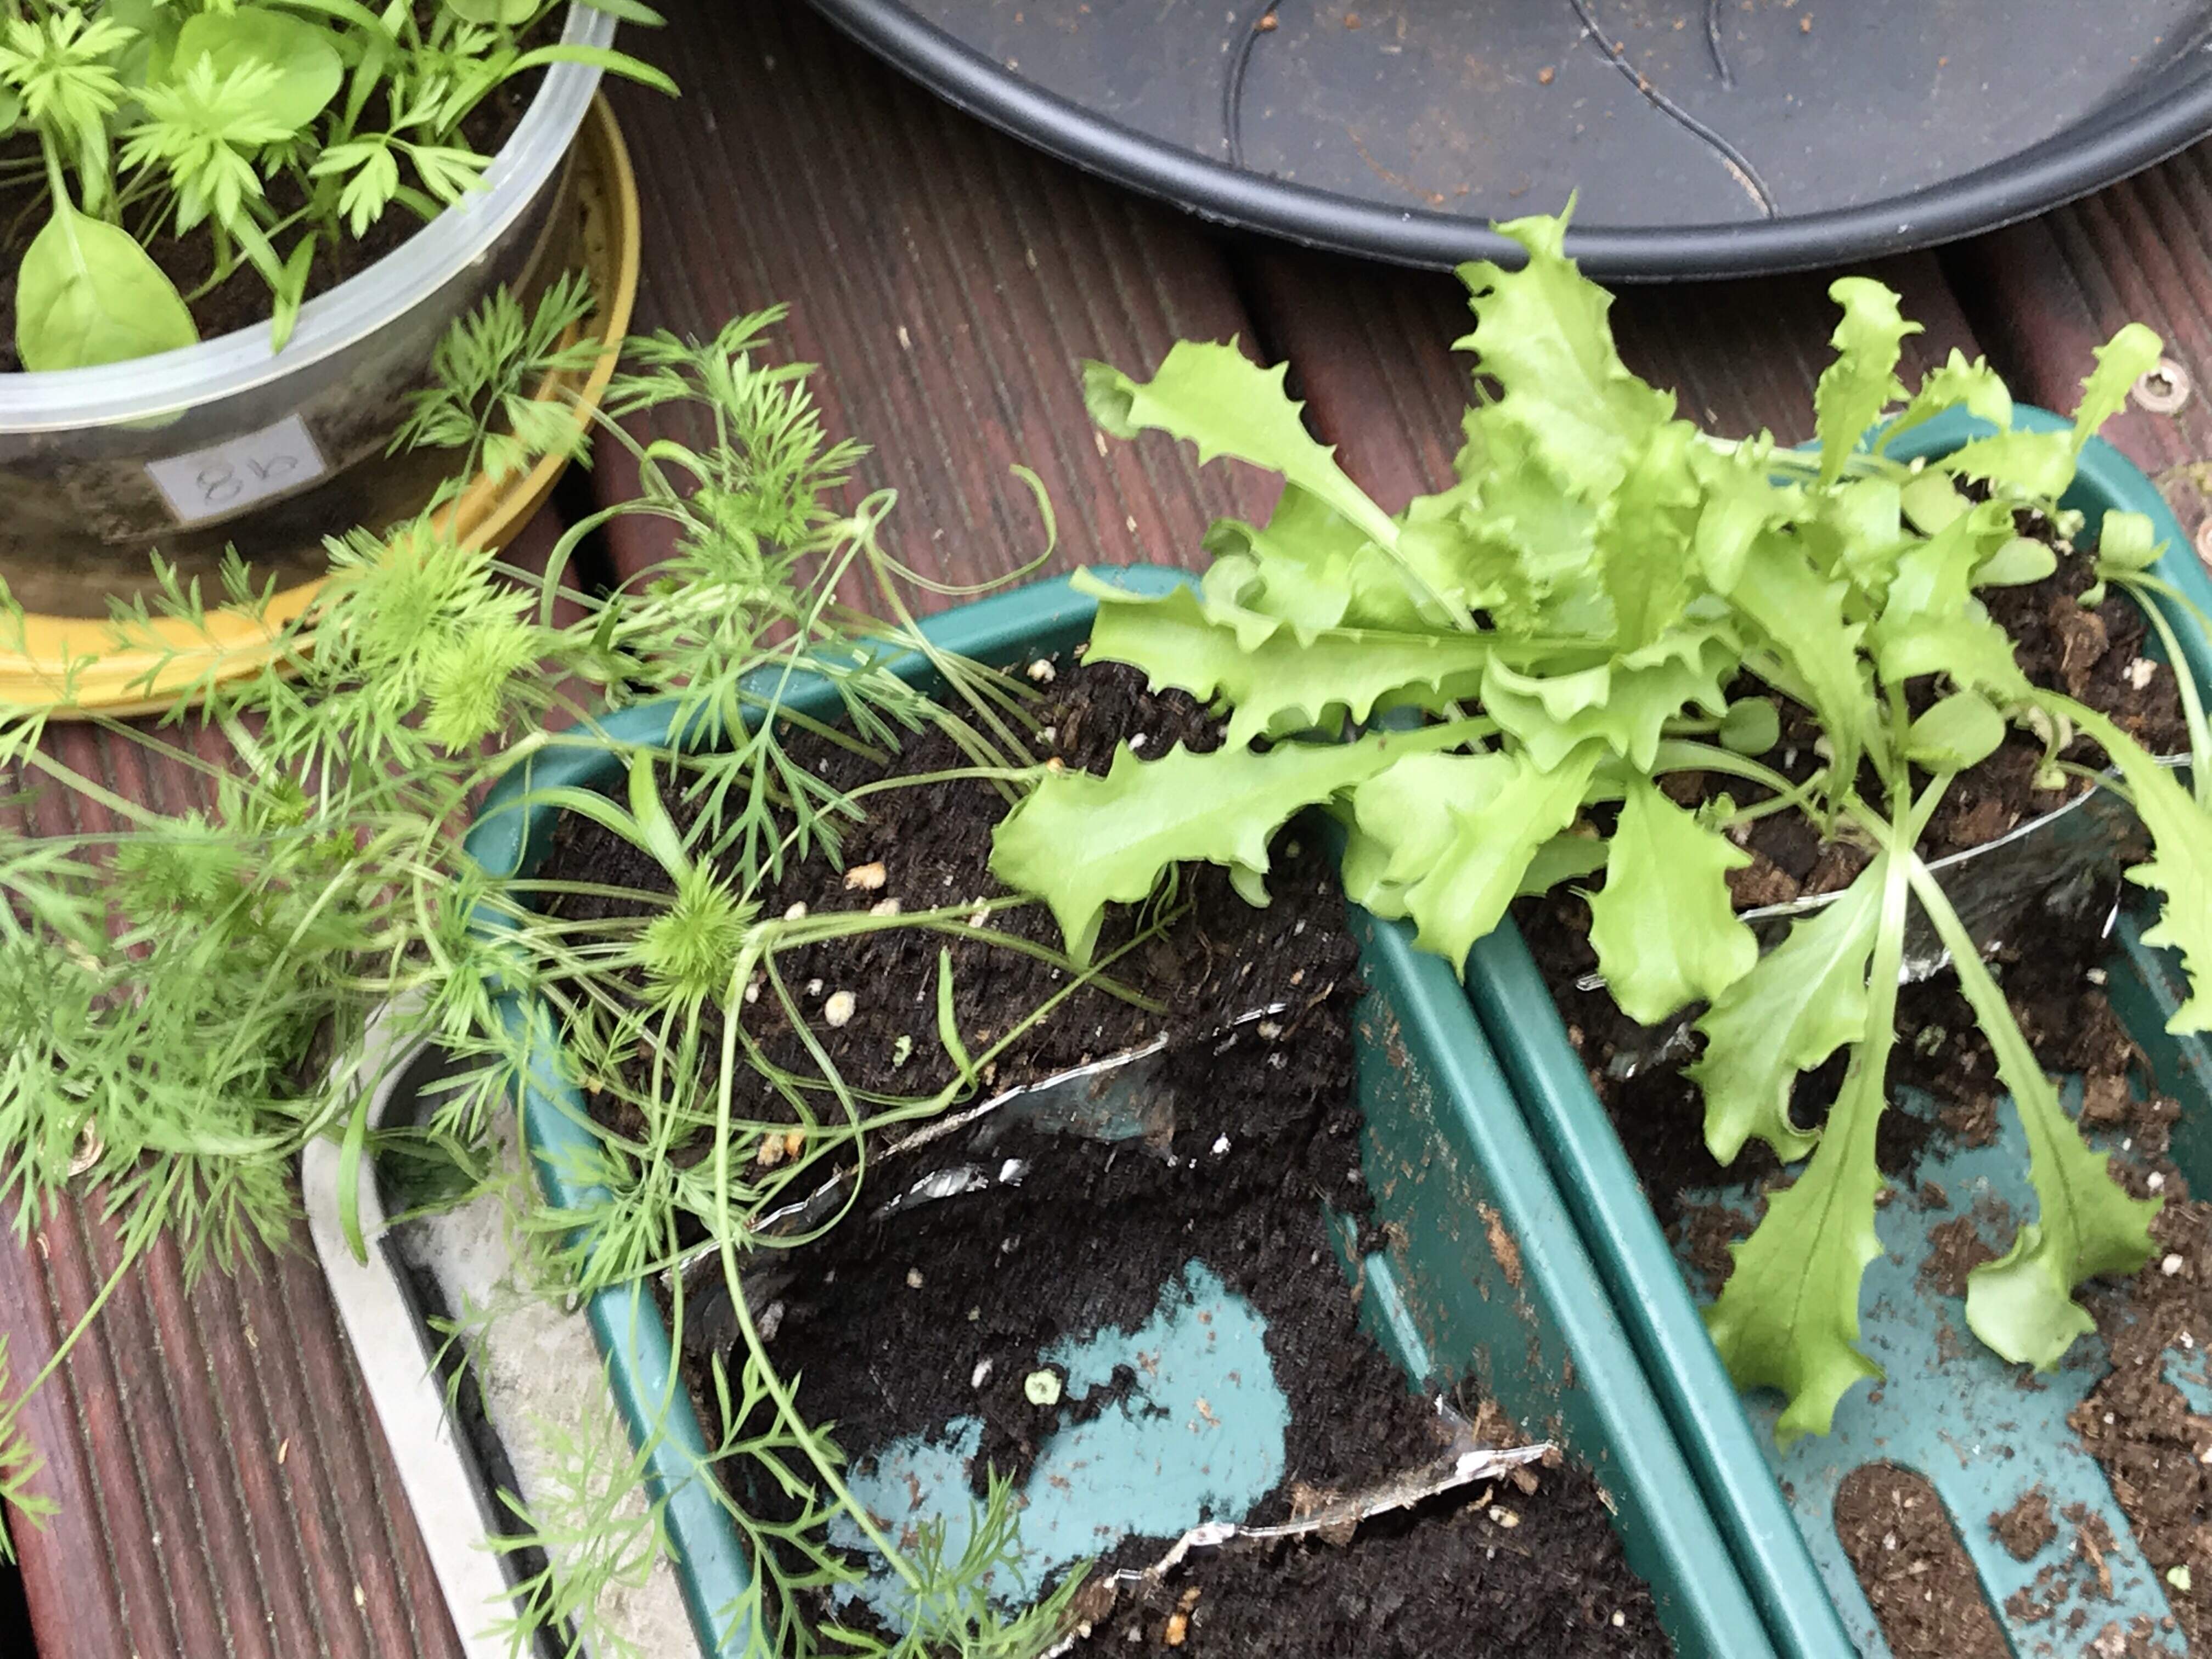
Green beans are transplanted yesterday after 3 days of outdoor hardening. A bit early as the night temperature can be as low as 6ºC / 42ºF, but they are growing too fast to be kept any longer inside. No time to take care of the strawberries yet.

All the greens and herbs are also hardening since yesterday, 4 types of basils, shiso, dill, greens include argula, chicory, chard and carrots. Giant basils suffer after their first night out.
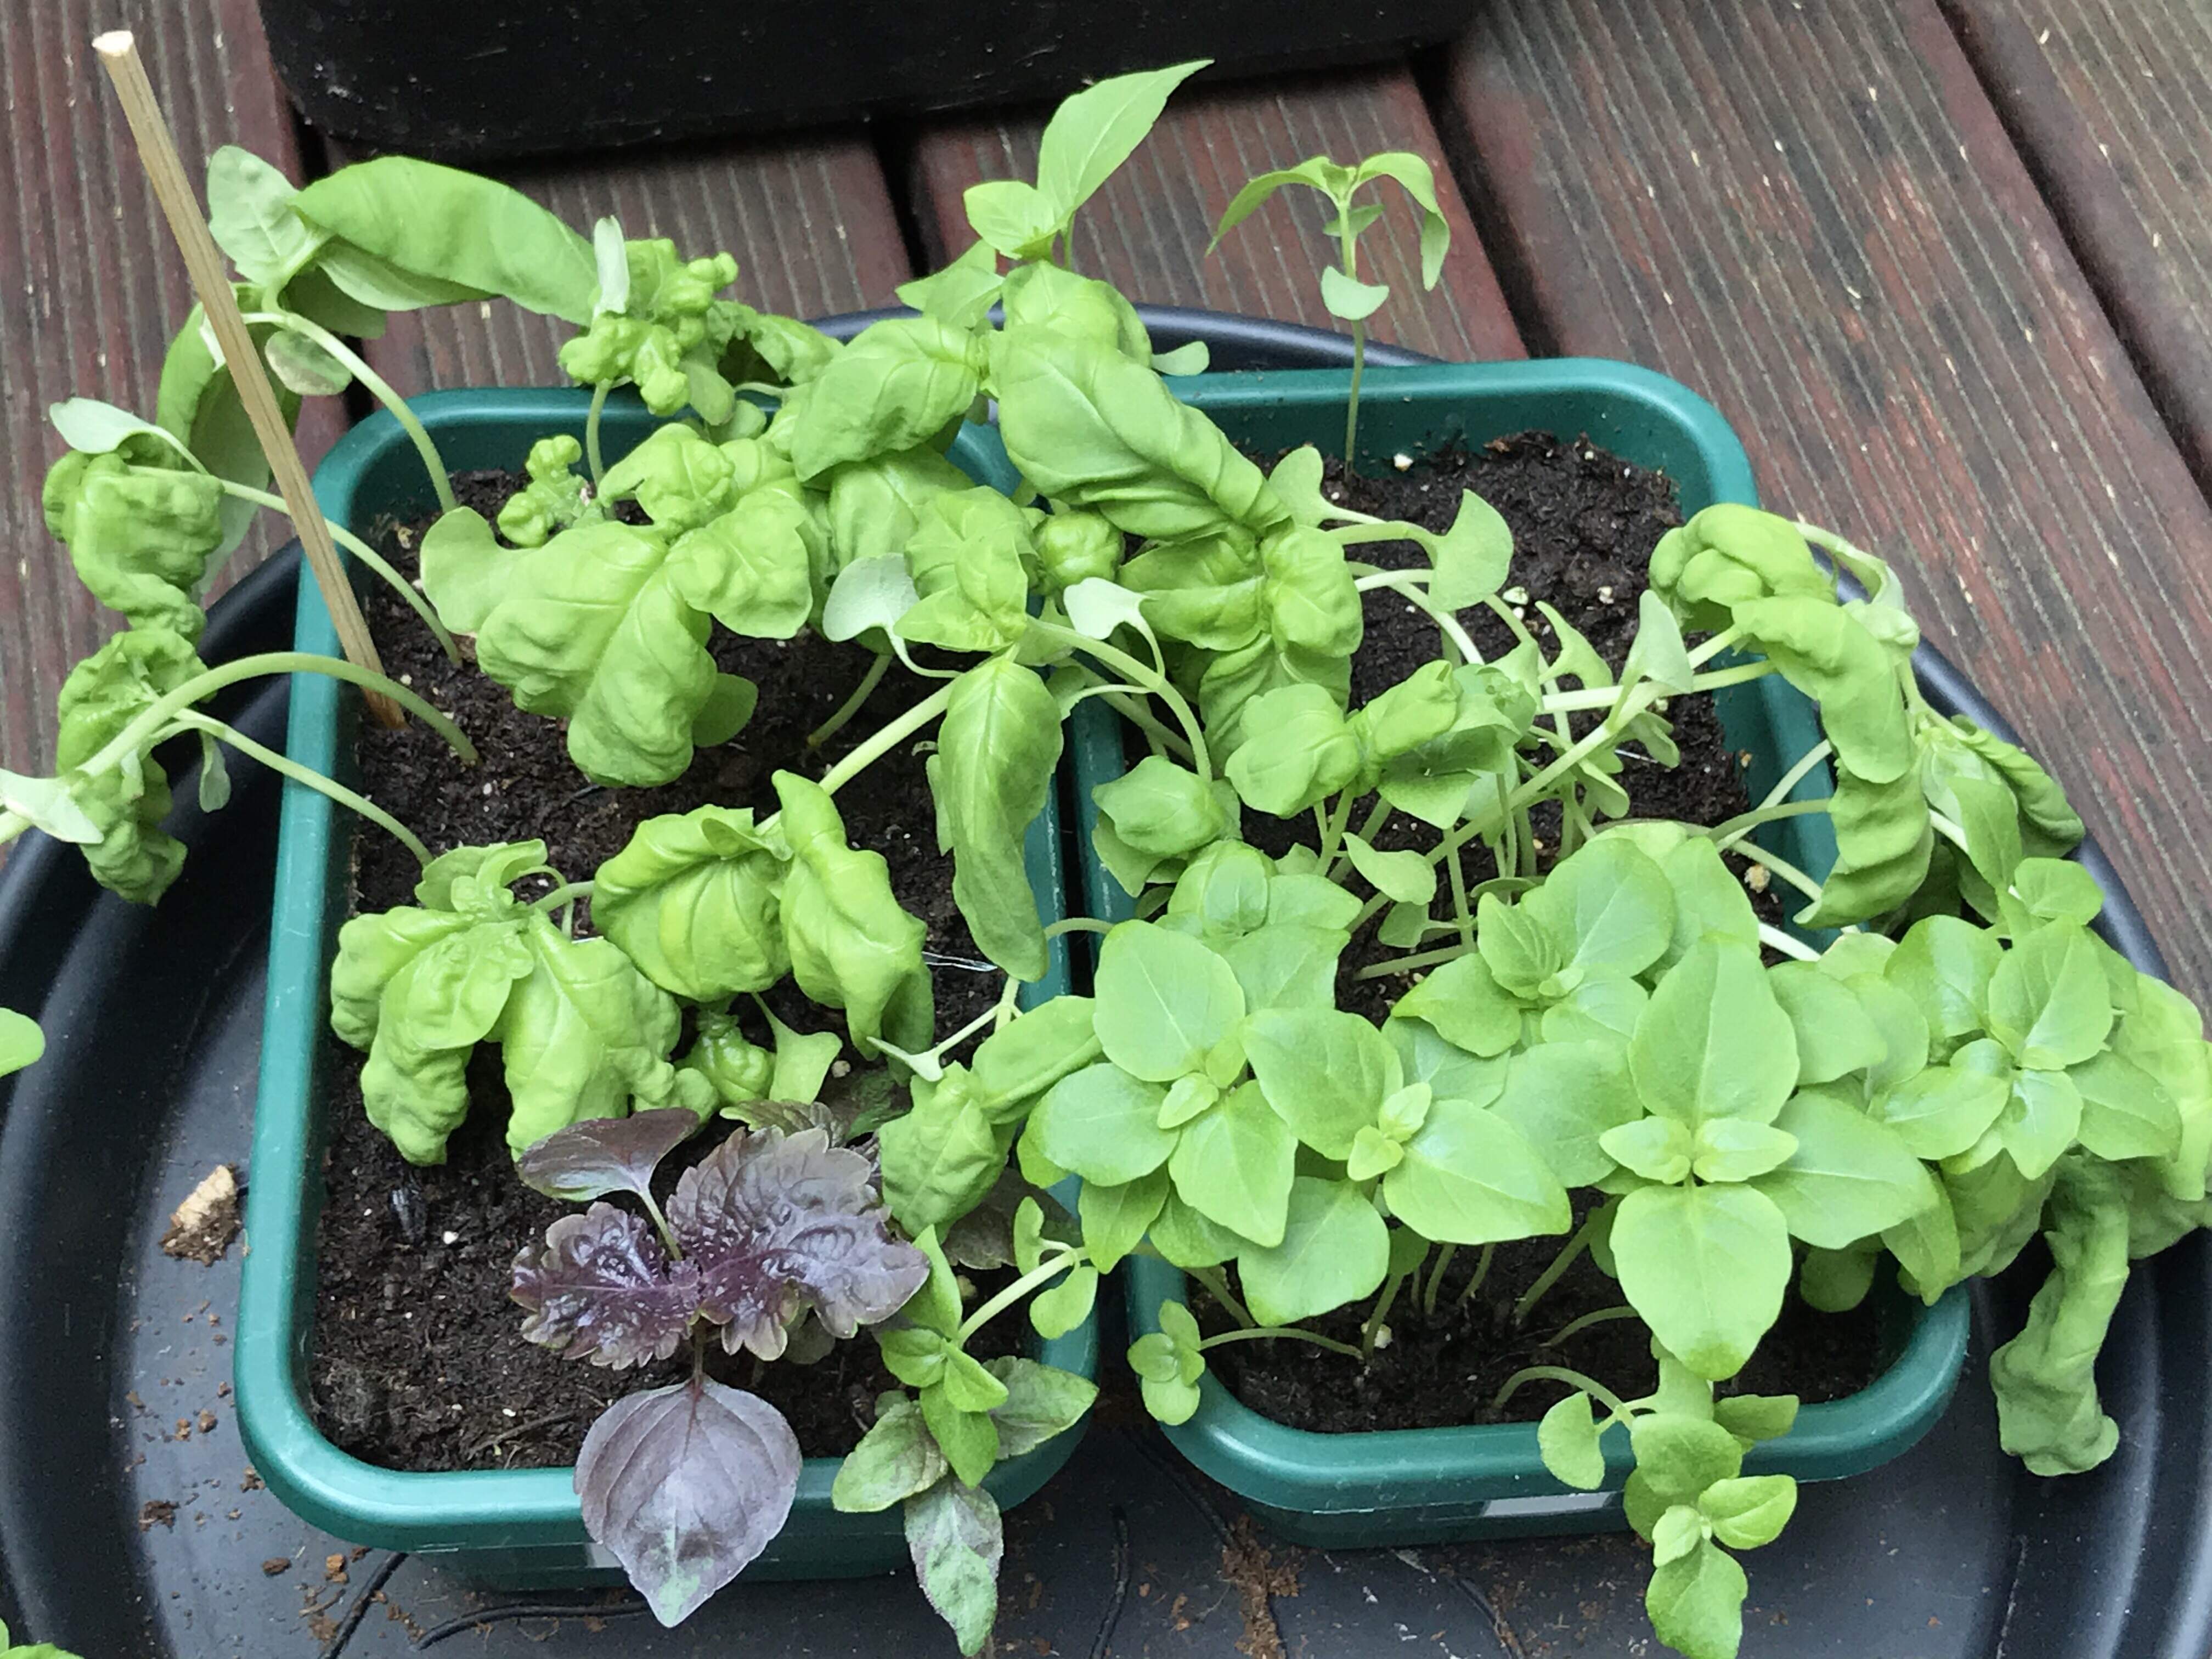

Basils (when they were indoors)

1 Like
Good luck with the grafts naf! Those are larger, older seedlings than when I do the grafting. Also, there’s another top/bottom connection: just a 45 degree angle cut on both. It’s a little trickier to line up, but the stock, bottom won’t split. I use one of those ring magnifiers to see close-up what’s going on. The humidity dome is critical in the beginning.
Here’s a link to an excellent tomato grafting guide from Johnny’s Seeds.
2 Likes

